
Note: You will see a lot of links to products in this build log. These are not sponsored or affiliate links, these are just links to exactly what I used if you decide to closely replicate my process!
I decided it would be fun to 3D print SeanAranda's Oni Cyber Punk Mask. I have a beard that protrudes several inches down from my jaw, so I tend to look silly in the fabric and disposable dust masks everyone's required to wear right now to combat the spread of COVID-19, and I had been thinking of a way to make a mask that I could tuck my beard into so it would look less silly. The Oni mask gained some traction on Reddit's r/3DPrinting subreddit, so I figured it would be a good candidate to try out my ideas.

The first step, naturally, was to print the mask. I printed it on my heavily modified Creality CR-10 S5. I adhered the pieces together using the only tube of Gorilla 2-Part Epoxy in the entire state that wasn't expired. Here are the parameters I used:
- 0.2mm layer height
- 0.4mm line width
- 4 walls
- 15% gyroid infill
- AMZ3D PLA
Now, it's worth noting that you shouldn't make masks out of PLA unless you intend to give them some kind of coating. Typically people will use an epoxy resin coat. The reason for this is because PLA is fairly porous and gives bacteria (and viruses!) ample hiding places to avoid disinfectant. I'll be painting the mask with several layers of paint, so I don't have to worry about this issue. I still need to spray it with disinfectant once in a while for safety, though.
After the epoxy dried, I noticed that there were a lot of gaps in the mask, especially in the "laugh lines" by the nose. I recently bought a 1 lb kit of Aves Apoxie Sculpt, so I figured I would just use that.

I also found during this process that, while Apoxie Sculpt has a 24-hour set time, this can be accelerated to 3 hours if I turn the heated bed on my printer to 60C (140F) and keep the mask in the enclosure. The ambient temperature rises to around 35C (95F), which not only accelerates the chemical reaction to harden the putty, but also significantly lowers the ambient humidity (from around 70% to 25%).
Next up was the first primer pass. I didn't bother doing anything other than removing and sanding notably problematic areas because I wanted to try out hitting a mostly raw print with a high-fill primer to do most of the work for me.

The amount of sanding I had to do after this to get a good, consistent, layer line free finish took about 20 minutes with some 220 grit sandpaper backed with duct tape. That allowed me to get into the awkward areas around the teeth, and the sandpaper held together longer than it would have otherwise. I took the opportunity to normalize areas such as the bottom of the chin. Now it just needed another heavy primer layer and some polishing.

For the polishing process, I typically use 500-100pgt sandpaper with water. However, the nature of this project being "make the processing phase FASTER!", I tried a new idea: a simple Scotch-Brite Heavy Duty Scrub Sponge. I used the rough side (somewhat like a Brillo pad) to rough up the surface and impart some small scratches and features, then used the soft side to polish the surface. The top piece in this image has not yet been hit with the sponge, while the lower piece has. There are still a few areas in this that look "ratty" - some are just paint dust that needs to be wiped away, other areas are things that won't be visible about on the final item and I don't care about.
Now it's time to hit it with the actual paint. I started with two coats of Krylon Fusion All-In-One Hammered Silver. This paint was the best and closest thing I could find to the undercoat color I wanted, though ideally this would not have been an all-in-one paint (these layers tend to be thicker and cover up some detail). I figured, to avoid losing so much detail, I would use half the passes I normally would.

I allowed the paint to sit in direct sunlight for 20 minutes, then hit it with Rustoleum Oil Rubbed Bronze. I wanted this item to look like it was made of metal (obviously), but I felt just going with a straight gunmetal or metallic black top coat would be a bit boring.
I let this sit in the sun for around 40 minutes, then transferred it to my 3D printer enclosure for the same treatment as the Apoxie Sculpt. After a further 20 minutes, the paint was rigid enough that I felt comfortable hitting it with the Scotch-Brite pad. I then went absolutely bat shit with the Scotch-Brite, doing random swirls, aggressive "strikes", and general wear marks.


I'm pretty sure I achieved the look I wanted just with the paint and Scotch-Brite pad. I was going to do a black acrylic wash to make the lines stand out a bit more, but I don't think it's needed now. I decided not to apply a layer of clear coat to encourage a natural wear on the mask surface down to the hammered silver layer.
I put the teeth through the same kind of treatment and installed them into the mouth.

I had to shore up the teeth with some epoxy and Apoxie sculpt because the mounting method the original designer used was somewhat... insufficient. So I needed to make them a bit stronger.

With the painting and assembly done, it was now time to figure out the harness, beard concealment, and how this thing is going to interact with a face mask. First, I got the straps around the original mounting points figured out - easy enough.
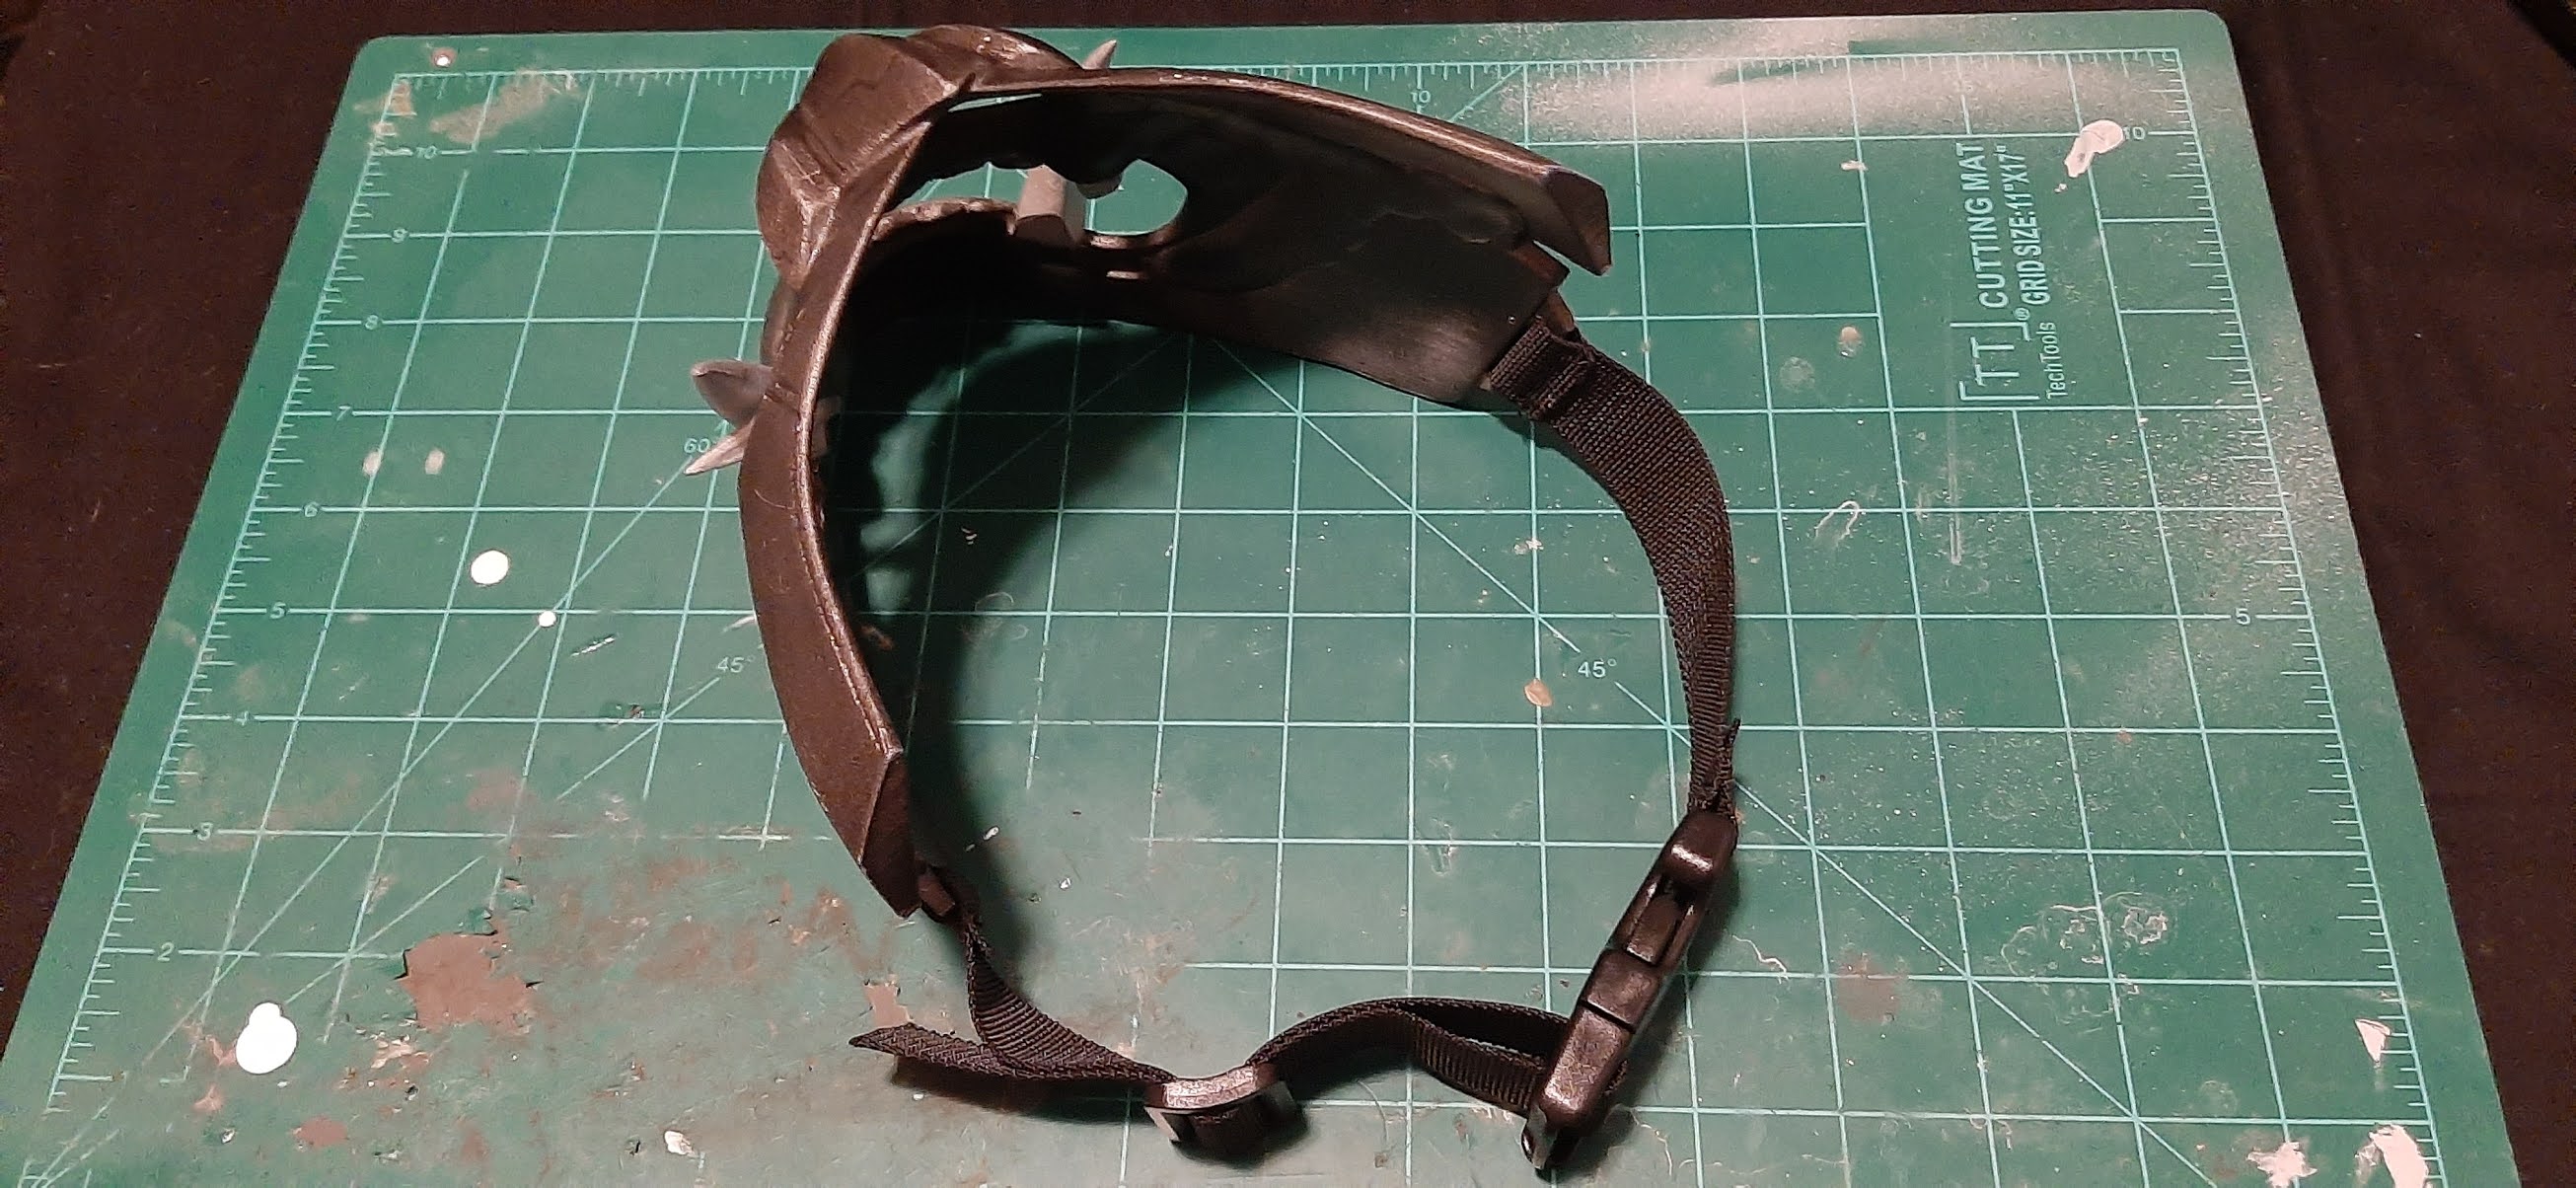
I used a sewing needle for canvas and some carpet thread to secure the loops. The one part I messed up at in this process was I put the female side of the belt on "backwards", which doesn't really affect function, and you can't notice the mistake unless you're looking very closely and specifically for it.
Now, the upper "cheek bone" strap was a bit awkward. It needed to go up over my ears and secure at the top of my skull.

I had to scratch up the paint and Apoxie sculpt where the straps needed to go so the Gorilla epoxy had some purchase to grab into.

I secured one of the straps around my face, put the mask on, and then masking taped on the strap where it fit best. This shows how I kind of "keyed" the masking tape to the mask (held up about 2mm out of place so you can see the angle of the tape).
After waiting (what felt like) ages for the epoxy to set up, I began also epoxying the "beard hider" into place - the sleeve of an old, black, stretchy undershirt. This was a PAIN - I mixed a small amount of epoxy, spread it out around 2-3cm, held it in place with my fingers until it was tacky enough to hold itself in place, and repeated that process until I'd gone all the way around the jaw. The entire process took around an hour. "5 minute epoxy," HAH!

Somewhere in this cluttered mess is the mask I'm making... Can you find it?
For reference, here is the mask before the "beard hider":

And here is after installing the "beard hider":

It brings together the last 5% to increase the visual effect by a lot more than that.
Welp, this is the part of the build log where I post heavily filtered images to make it look cooler than it probably does:


That's all for now. On to the next thing.
-Craig